Context Belongs in the Document, Not the Person: Why I Open-Sourced My Solar Setup

In my day job as an IT engineer, I live by one core rule: context should live in the documentation, not in someone’s head.
A system is only as resilient as the documentation behind it. Good docs declare the technical specs, explain how a system was built, show how to operate and maintain it, and, most importantly, record the why behind every architectural decision.
When I decided to transition my home to renewable energy, I brought that exact mindset with me. After years of iterating, troubleshooting, and upgrading, I’ve finally taken the leap to open-source my entire solar power setup, along with blueprints so anyone else can build their own.
Standing on the Shoulders of Open Source
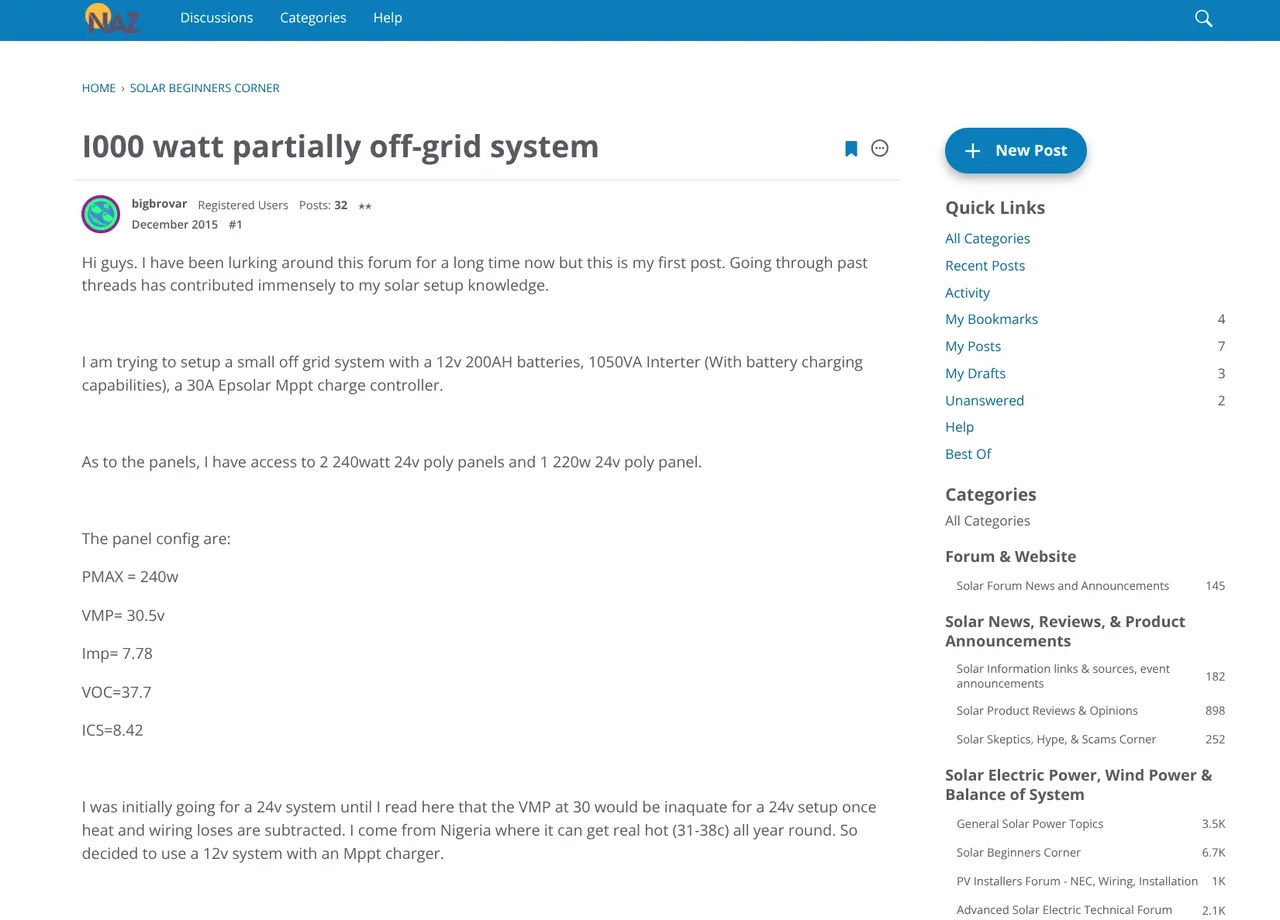
My attachment to open documentation goes back to 2007, when I installed Linux and made it my daily driver. What hooked me wasn’t just the software. It was the culture. Information was free, transparent, and built for sharing. People documented their failures and successes so others didn't have to start from scratch. I still remember with fondness crawling around Ubuntu forums for the tons of how to guides and people sharing their experience and when I am stock I enter live IRC channels where you can get real time support from the community. That experience shaped my perspective about the importance of open culture in the technical space - Now you know why my blog is named what it is.
When I started my solar journey, I knew nothing about solar power or electrical engineering. Everything I know today came from community members generously sharing their schematics, mistakes, and hard-won lessons. My current system sustains my home daily because of that collective knowledge. Open-sourcing my setup is my way of paying that forward.
The Bottleneck of Good Documentation
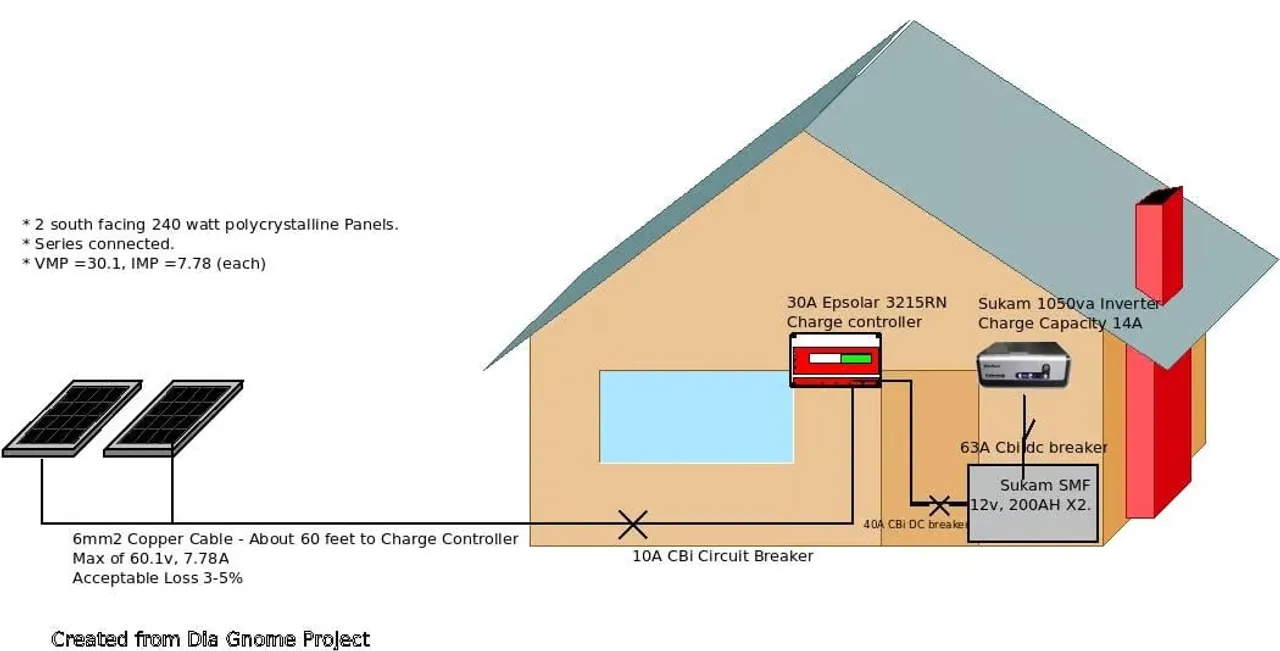
From my very first, and admittedly embarrassing, solar build, I drew schematics. Every time I upgraded a component or rewired a section, I updated the diagrams, wiring logs, and cable sizing charts. My goal has always been simple: if I’m not around, anyone looking at the system should know what parts were used, why they were chosen, and how everything connects.
About a year ago, I moved into a new space and took on my biggest build yet: a system large enough to power every appliance in the house. Before driving a single nail into the wall, I used draw.io to map out the entire inverter and power board to scale. Looking at my initial digital sketch next to the finished physical installation, the two are nearly identical.
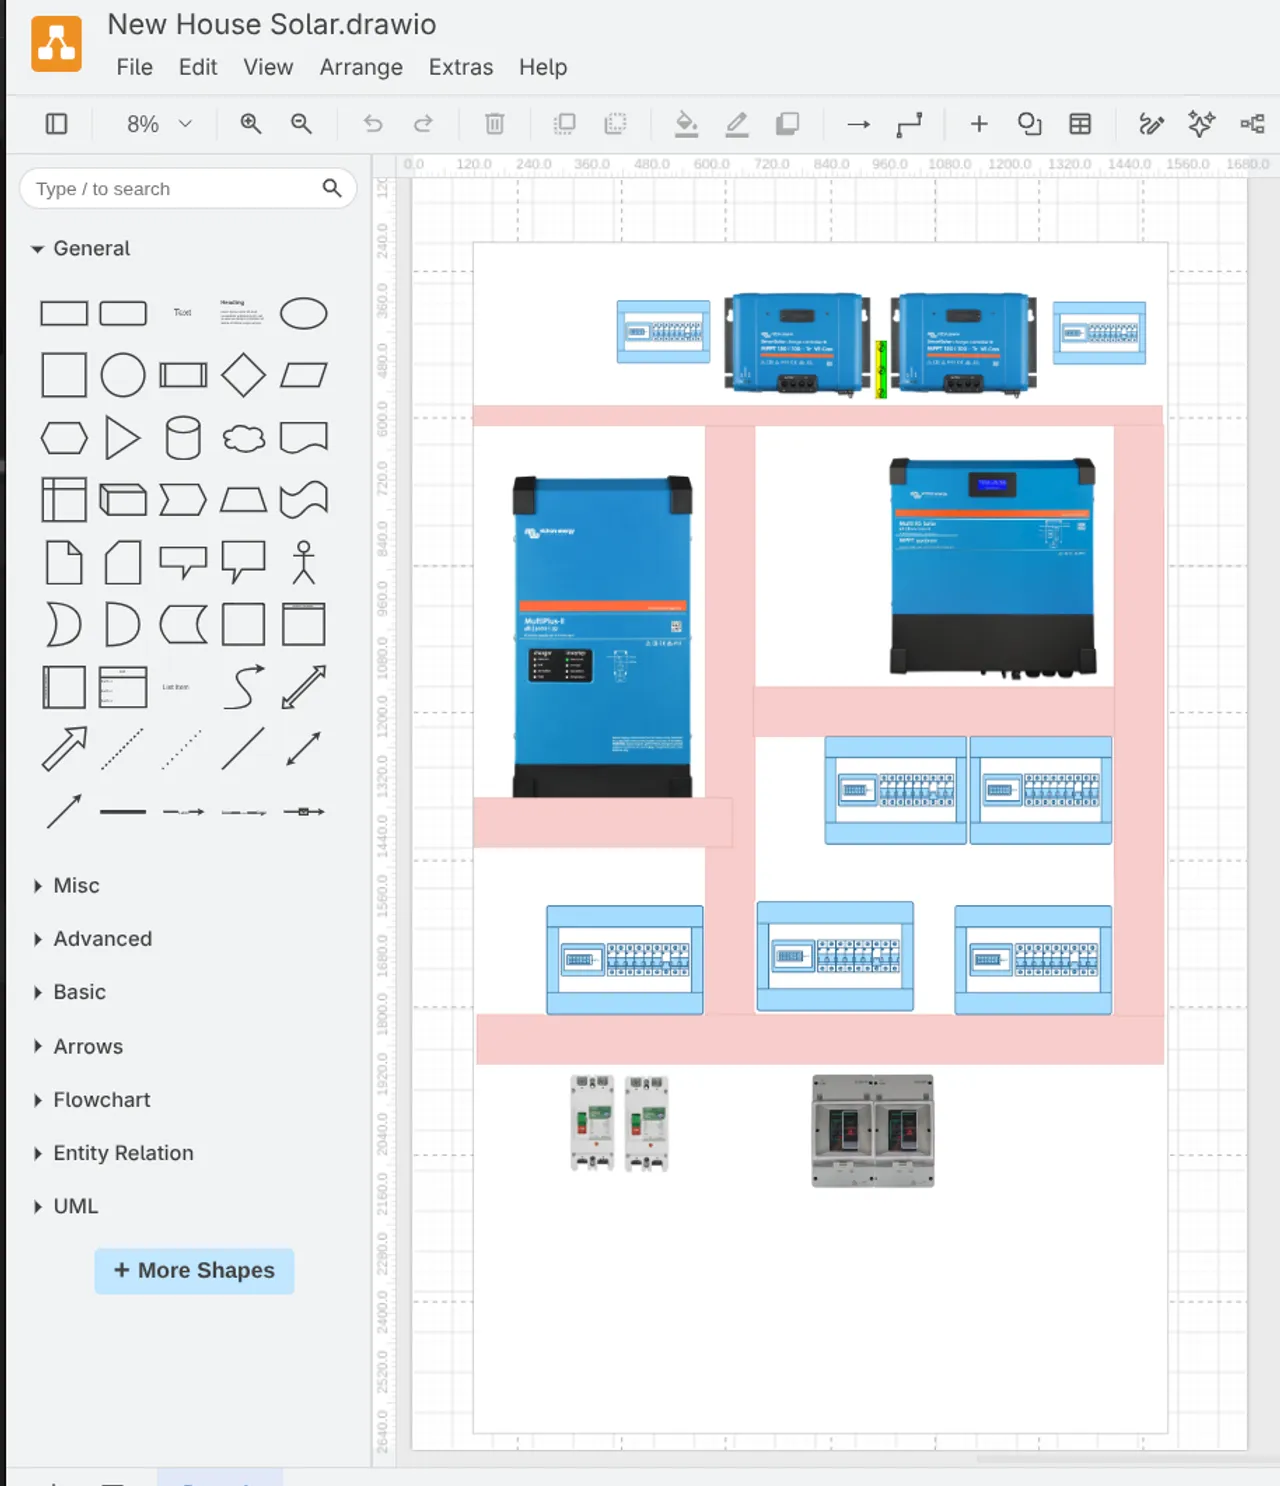
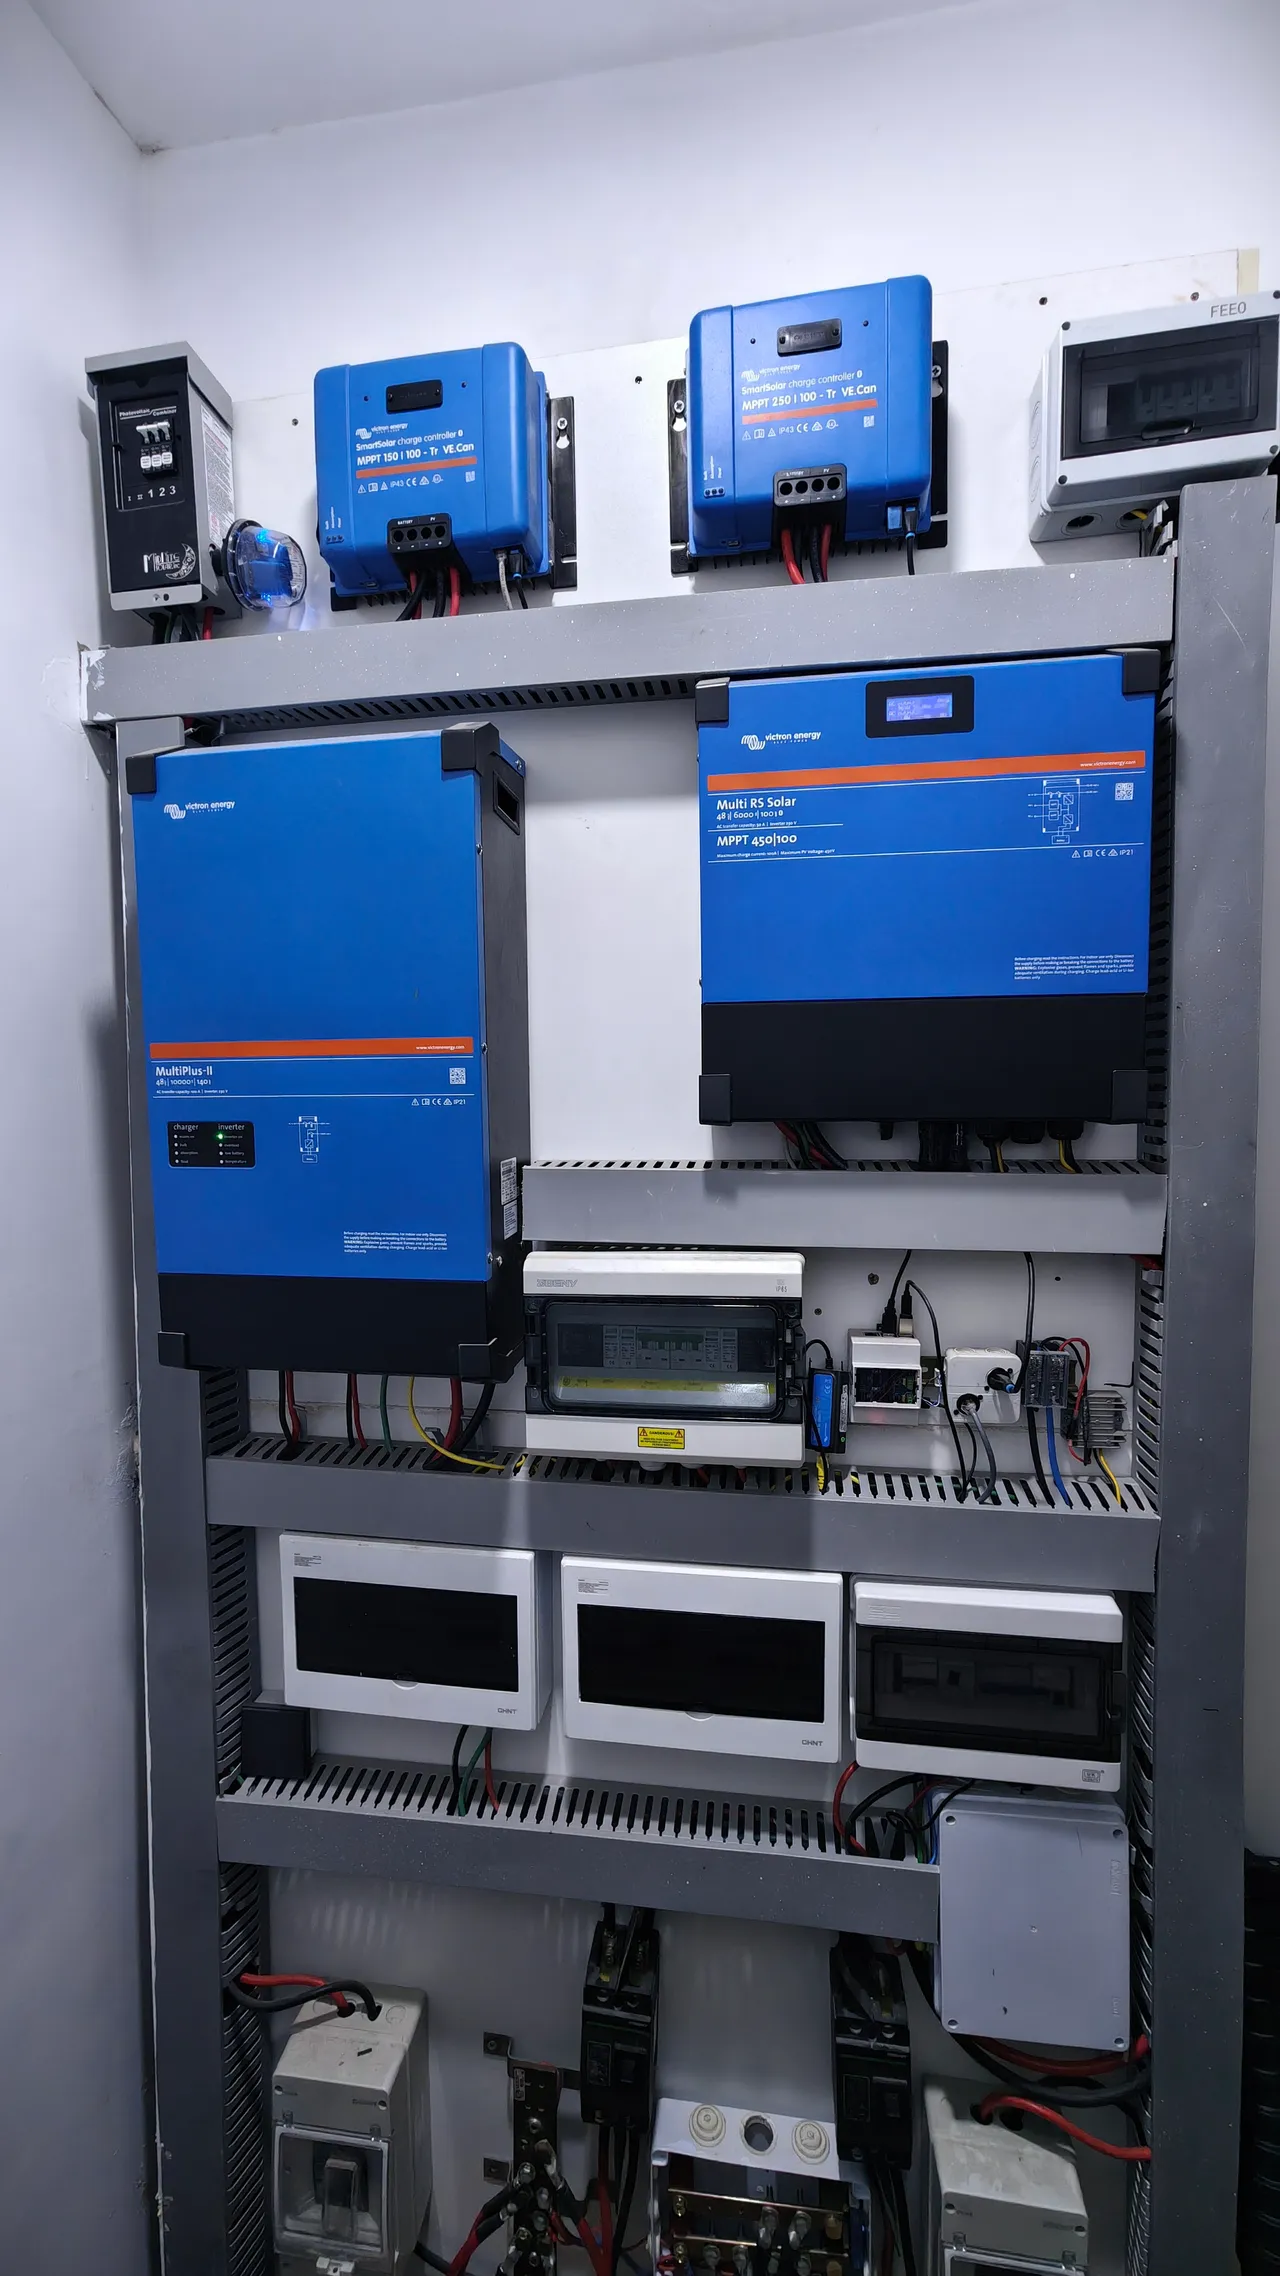
Still, turning raw schematics and notes into comprehensive, beginner-friendly documentation is exhausting. I hate writing docs that leave readers with unanswered questions, which meant I spent months sitting on a 90%-finished set of draw.io schematics while juggling my regular workload.
Eventually, I turned to Claude to help bridge the gap. By feeding my schematics, component lists, and design notes into an LLM session, I was able to turn them into an interactive dashboard and structure the documentation into a clean, accessible format.
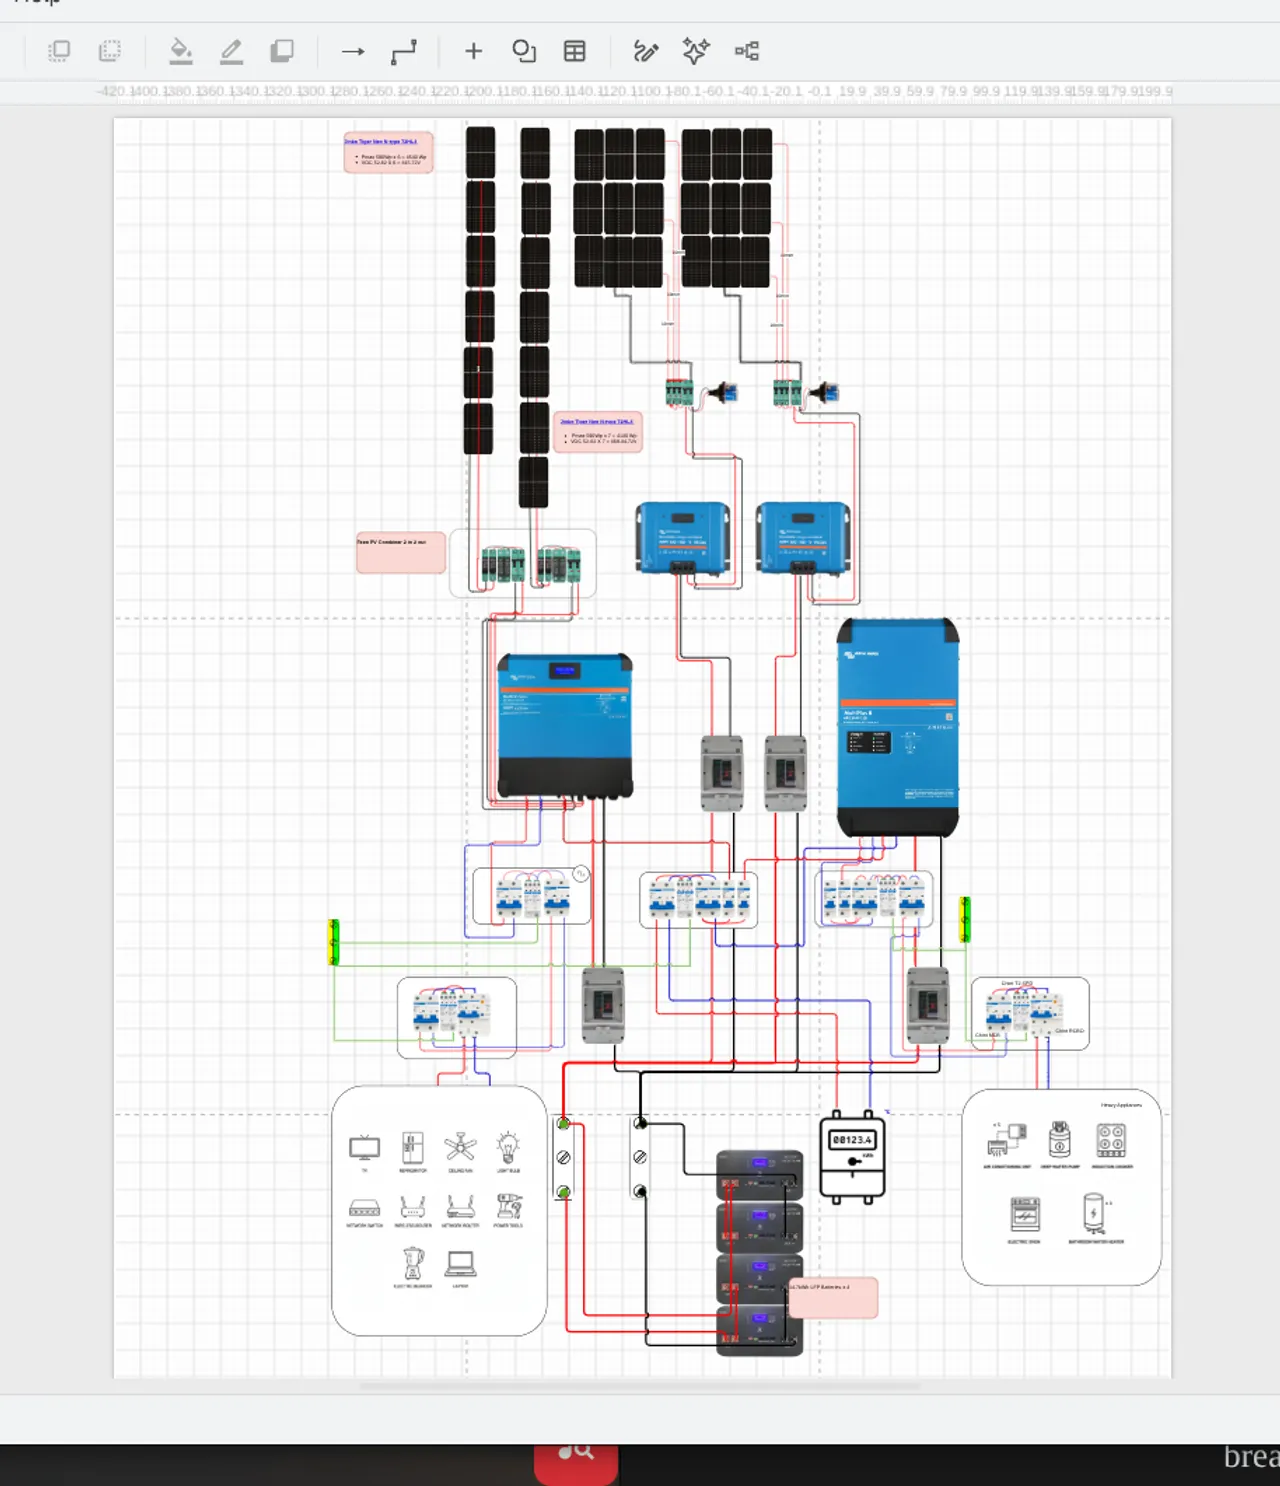
The Detailed Interactive Schematic Dashboard built by Claude
Under the Hood: How the Project Is Built
I wanted the documentation itself to follow the same philosophy as the hardware: simple, transparent, and easy to fork.
- Zero Backend Bloat: The interactive dashboard is built with plain HTML5 and client-side JavaScript: no databases, no logins, and no server-side overhead. It’s hosted as a static site on Cloudflare Workers.
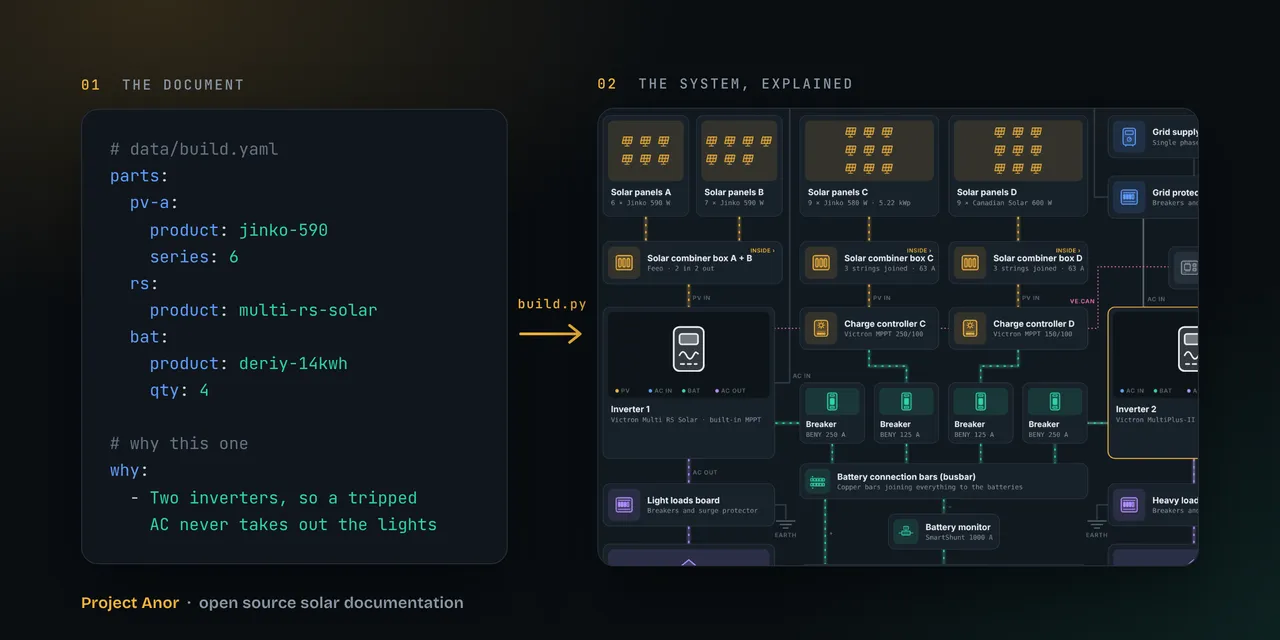
- YAML-Driven Configuration: All system specs, component lists, and wiring details live in human-readable YAML files inside a GitHub repository. A lightweight Python script rebuilds the HTML dashboard from them, and it runs automatically whenever a change is pushed to the repository. If you want to fork the repo and map out your own system, you only need to edit the YAML.
- Interactive Visuals: Every layer of the build is exposed, from the combiner box, breakers, and surge protectors down to the panel arrays, inverter, DC busbars, and battery bank. You can even click through visual overlays that map real-world photos of my installation directly onto the technical schematics.
Accounting for Technical Debt: Four Blueprints for Everyone
Once my own system was documented, I realized something important: people shouldn't necessarily copy my exact setup.
My system evolved over a decade. Like any long-running infrastructure project, it carries technical debt. Some of my wiring choices and component pairings exist only because ripping them out to start fresh would have been too expensive. If I were starting from zero today, I would build it differently.
Friends constantly ask me how to get started with solar, and pointing them to a decade-old, custom-evolved setup isn't always helpful. So, I went a step further and built four additional reference dashboards scaled for different needs - I wrote about them here
Each tier includes the same level of detail: full schematics, bill of materials, estimated costs, and step-by-step build notes. I also built an interactive load calculator: you plug in the appliances you want to run, and it recommends the appropriate system tier along with the exact parts list.
A Note on Hardware Selection & Independence
To ensure these blueprints remain practical and trustworthy, I held every recommended component to strict criteria:
- Open Datasheets: I only selected inverters whose technical datasheets are freely available online.
- Proven Support: Every brand listed has established industry recognition and reliable technical support.
- Zero Sponsorships: I took no money for this project and have no commercial relationships with any of the vendors or stores listed. (Where I do have a technical advisory arrangement, specifically regarding the batteries, I’ve explicitly disclosed it in the docs.)
What’s Next
Wrapping up weeks of work to finally push this live feels like a massive weight off my shoulders. Whether you're planning your first small backup setup or designing a full off-grid home array, my hope is that these schematics, calculators, and YAML templates save you time, money, and a few headaches along the way.
Feel free to explore the repository on GitHub, fork the templates for your own build, and share what you create.