Project Kraken: Building an Enterprise Grade Micro Data Center on a Budget (Part 1)
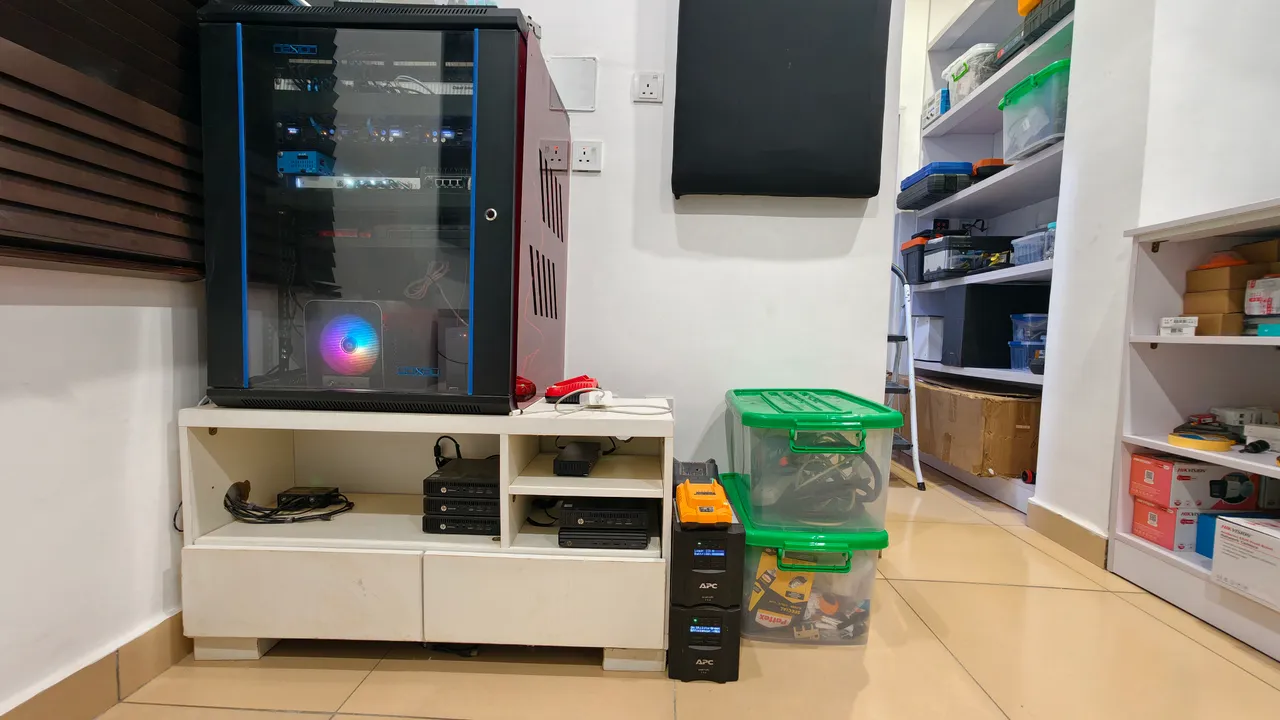
I started out my career working as a System Administrator for a non-profit, postgraduate-only university and research institute that focused on STEM. The school leveraged a lot of computational science and tools for research. Way before AI and machine learning became a trend, we were running tools like MATLAB, Octave, and Mathematica. The school was also big on network and data management, which required us to maintain heavy physical IT infrastructure. The major challenge we had was how to keep our systems powered. We had four HP ProLiant servers which were incredibly power-hungry and required constant cooling. Keeping the systems up was a major struggle we always had to contend with.
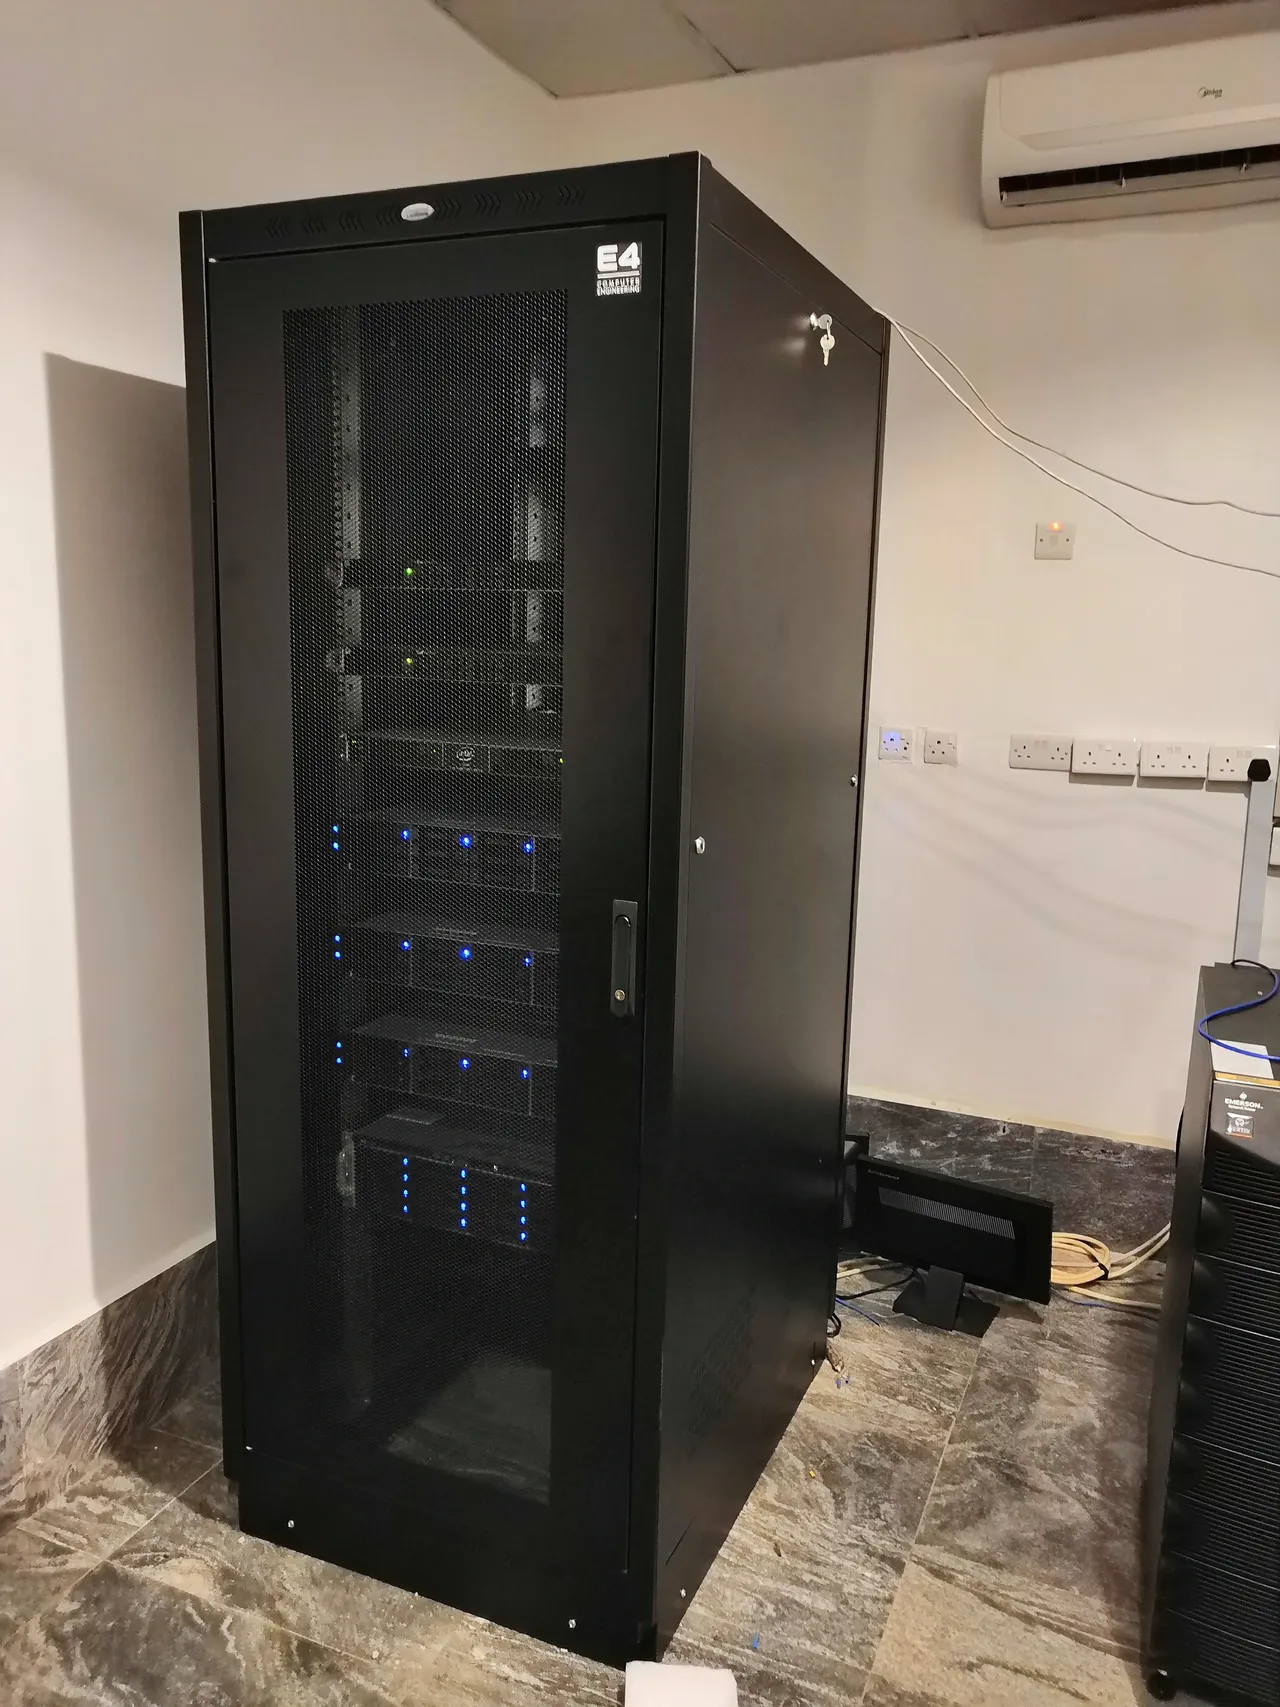
I got my first introduction to low-powered computers when my team was tasked with setting up 40 Raspberry Pis for a program that sought to teach programming to selected students from public secondary schools. The program was very successful, and it was from there that I got the inspiration for how low-powered computing could be scaled up to do more.
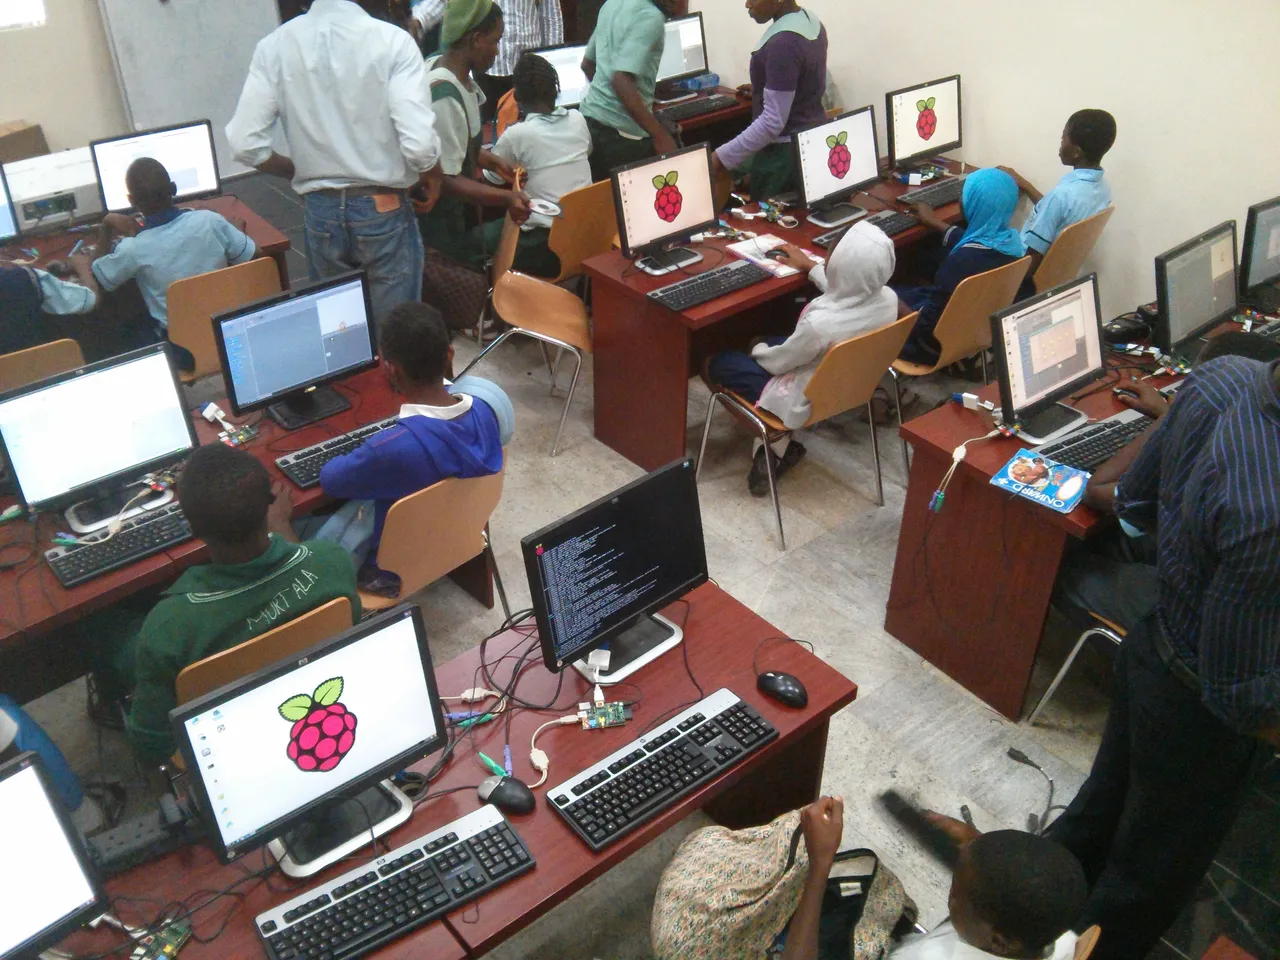
In 2019, an idea started gnawing at me. A lot of the services we ran at the university could actually be replaced with low-powered computers. The goal was simple. A system that uses less to do more. Less power, zero need for air conditioning, and a system designed for specific applications instead of relying on general-purpose servers. It is the famous Unix philosophy: write programs that do one thing and do it well.
Current pet project is building a home lab anchored on low powered arm devices trying to avoid x86 chips if I can. thing I love about arm is you can find a device designed to do 1 thing & do it well, efficiently without fuss & most importantly with low power footprint.
— Othell Yarwyck (@bigbrovar) May 24, 2019
My first attempt was launched in 2021, and I made a detailed Twitter thread about it at the time. Although the computational side of that project didn't last long and eventually died out, from its ashes was born Project Kraken. I named it after the mythical sea creature with multiple arms.
Here was the initial idea https://t.co/R9H7kbLlPn - 2 years on - idea became an ARM powered home IT Infra:
— Othell Yarwyck (@bigbrovar) January 24, 2021
Storage Layer
- Main NAS (2gb ECC Ram, Marvell ARMADA® 388 https://t.co/KWmEqkLa4m 4 x 4TB WD Red+)
- Backup NAS: (Odroid HC2 https://t.co/tEUUzq25fy 4TB WD Red+) pic.twitter.com/f5duoDn9Ch
Project Kraken is my attempt at showing that you do not need to own and run massive, power-hungry hardware to have an enterprise-grade server environment, especially in a resource-constrained environment like Africa. The whole system is designed to run on just 2kW of solar, paired with less than 8kWh of lithium batteries, using strictly passive cooling.
The goal of this project was simple but ambitious: build a low-powered, enterprise-grade micro data center using cheap, off-the-shelf computer devices like used HP Minis purchased from eBay and Amazon.
The essential components of Kraken include:
- 10GbE Networking
- Distributed persistent block storage
- 40TB Data storage with built-in disk redundancy
- Automated Backup System
- Hardware virtualization
- 10-node HA Kubernetes Cluster
- 90% of the system (including physical server setup) is defined using code (Terraform, Ansible, PXE, TFTP BOOT, etc.)
Before getting into the software (which requires its own GitOps post), we have to talk about the physical foundation. This first part covers the hardware makeup of the Kraken cluster and the architectural philosophy behind it.
The Architecture Philosophy:
A Man Must Have a Code
Kraken is designed around using colors to define how services run. This is more than just a proof of concept. The infrastructure I was building needed to provide highly useful services for me and the house. It provides internet access, manages my home automation, powers the CCTV, and manages my media system (my own homemade Netflix and Spotify streaming services).
However, not all applications are created equal. Some are simply more important than others. Hence, the idea was to create buckets into which each application would be placed based on its importance and requirement for stability.
I recently had a conversation at work where an engineer suggested running our pfSense firewall virtualized inside Proxmox. I told him lai lai. In my humble opinion, the firewall is the most sensitive, first-class infrastructure in any system. It should be built like a tank and must remain online even when every other server is down.
My micro data center is categorized into color codes: Black, Green, Orange, and Red. Each acts as a distinct tier based on its blast radius and importance:
- Black (Never-Say-Die): The last boss to die. Only the firewall/router sits here. The hardware in this plane has to be super stable and dedicated. No workarounds, no improvising, and thermals must be on point.
- Green (Essential): These are services that must never fail because other systems rely on them. This is where the Proxmox VMs, the Bare-Metal General Purpose Server, and the NAS sit.
- Orange (Semi-Experimental): Platform applications for the house. They are incredibly useful and nice to have, but heaven won't cease if they fail. These are services that mostly run on VMs.
- Red (Experimental): Services that add a nice touch but can fail. They run on my Kubernetes (K3s) cluster. The cluster itself is built to be incredibly resilient with 3 control planes running on different hardware servers and 3 distributed block storage nodes. However, services running in this plane are categorized as "red" mostly because it is the most complicated part of the setup. Because of that complexity, I use it to host services that are nice to have, but could survive a couple of minutes of downtime. Honestly, the cluster has been rock solid so far, so calling it red might be misleading in a way.
With that philosophy in place, here is the physical hardware that makes up Project Kraken, starting from the plug in the wall.
The Power & Resilience Layer (The Foundation)
You can build the most highly available software stack in the world, but if a sudden blackout corrupts your databases, none of it matters.
To keep Project Kraken's operating costs flat, the entire system runs on my off-grid solar setup (I plan to do a dedicated write-up on my solar journey in a future post).
However, for immediate power management and brownout protection, the entire micro data center is backed by 2 x APC Smart-UPS 750 units.
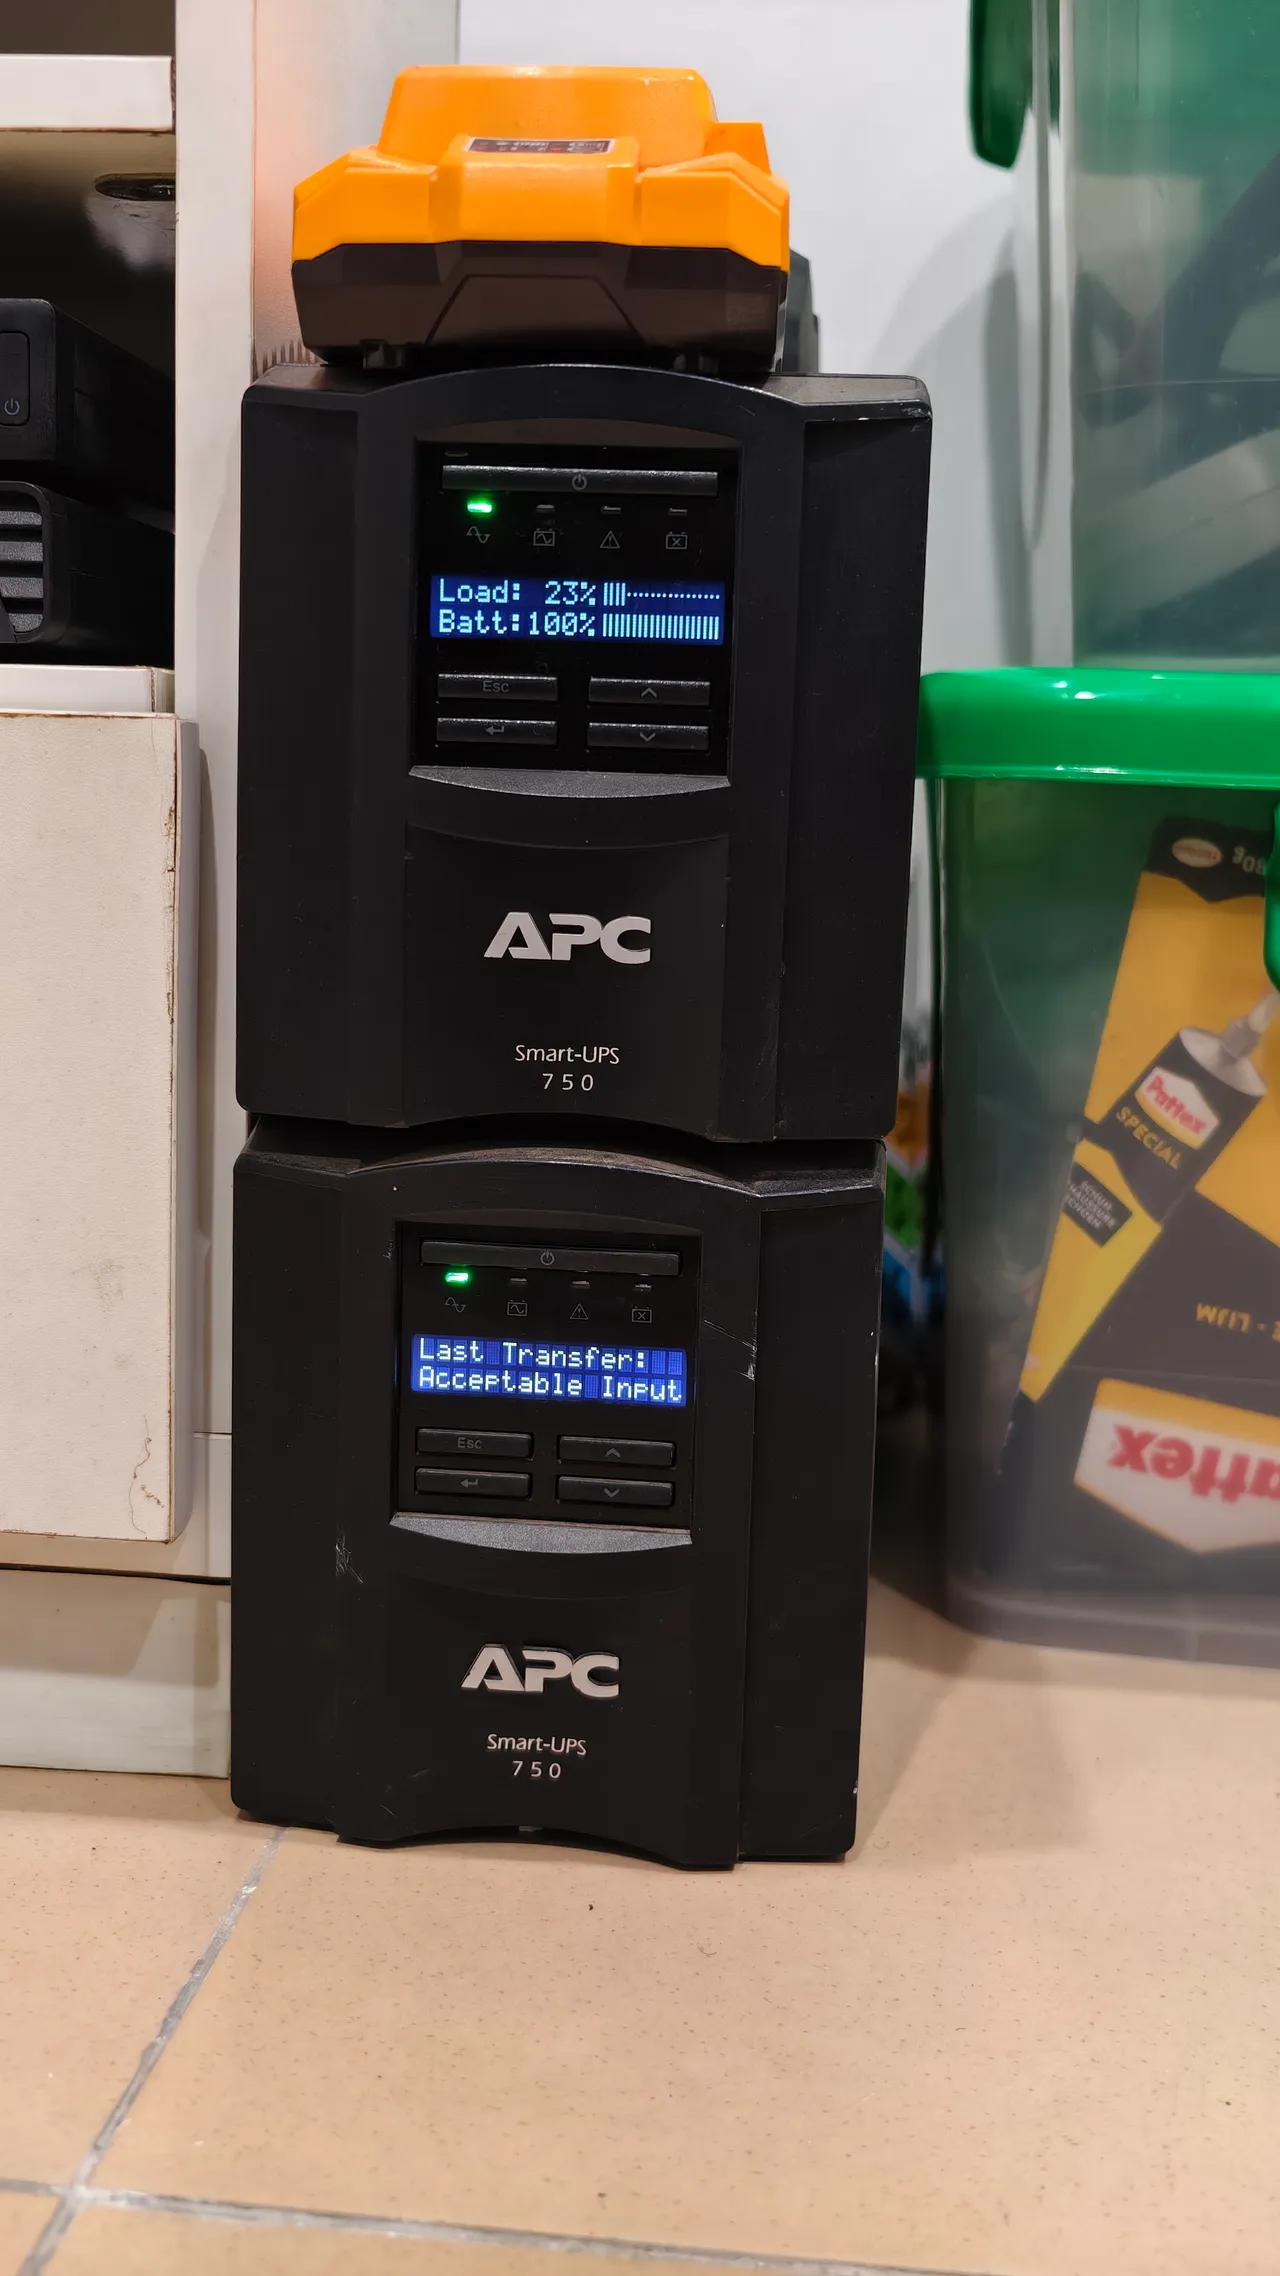
Having batteries is only half the battle. The systems need to know what to do when the batteries are draining. For this, I use NUT (Network UPS Tools). NUT runs as a master-client architecture across the cluster. If there is a critical power interruption and the solar/UPS batteries hit a low threshold, NUT broadcasts a shutdown signal across the network. This ensures my Proxmox servers, TrueNAS pool, and K3s nodes all spin down gracefully, saving me from corrupted hypervisors or split-brain Kubernetes databases.
The Network Layer (The Black Tier)
To support clustered storage and high-speed backups, the network backbone had to be solid.
- Core Switch: Ubiquiti UniFi XG 10G 6-Port Switch (US-XG-6POE). This handles the heavy lifting, providing 10G connectivity and 802.3bt PoE for my wireless access points.
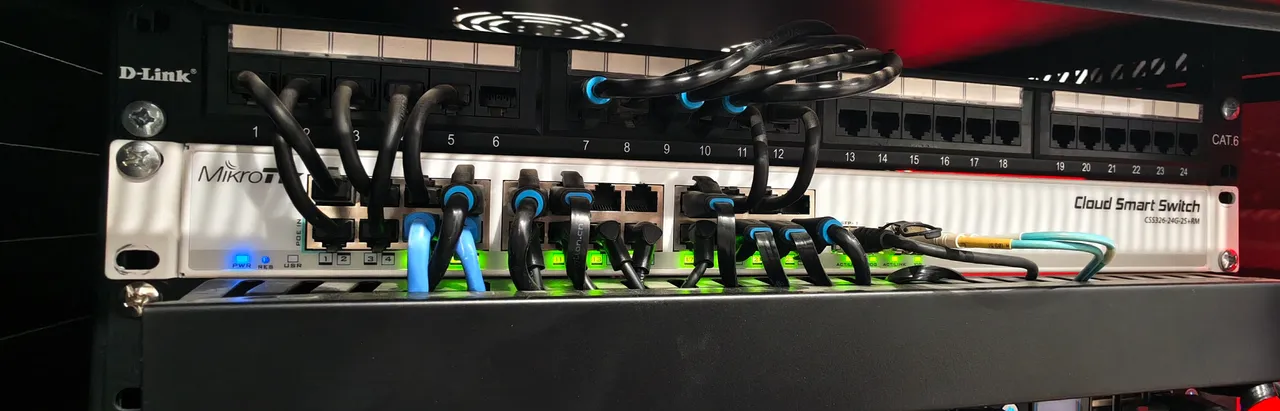
- Distribution Switch: MikroTik Cloud Smart Switch (CSS326-24G-2S-RM). A 24-port Gigabit switch with two SFP+ cages.
- The Interconnect: Both the MikroTik and the UniFi are connected via SFP+ DAC (Direct Attach Copper) cables. The TrueNAS server connects directly to the MikroTik's 10GbE SFP port using a Twinax cable. This essentially ensures that devices in the homelab have a 10GbE bandwidth highway to access data on the NAS.
- The Router: pfSense running on dedicated, bare-metal hardware. (We will look closely at the pfSense configuration, Starlink integration, and split-tunnel DNS in Part 2).
The Virtualization Layer (The Green & Orange Tiers)
For virtual machines, I rely on Proxmox VE. I use two incredibly dense, AMD Ryzen-powered mini systems to host my VMs.
Proxmox Node 1 :
- Chassis: ASRock DeskMini X300
- CPU: AMD Ryzen 7 5700G (8 Cores / 16 Threads @ 3.8GHz)
- RAM: 32GB DDR4
- Storage: 1TB Samsung 980 PRO NVMe, 500GB Samsung 970 EVO NVMe, 1TB WD Red SATA SSD, 500GB WD Red SATA SSD.
Proxmox Node 2 :
- Chassis: HP ProDesk 405 G8 Desktop Mini
- CPU: AMD Ryzen 5 PRO 5650GE (6 Cores / 12 Threads)
- RAM: 32GB DDR4 (3200 MT/s)
- Storage: 500GB Kingston NVMe + 500GB WD SATA SSD.
The Bare-Metal General Purpose Server
There are some green-tier services that I refuse to host on Kubernetes or inside a VM. For those, I use an industrial fanless PC.
- Hardware: NEXCOM NDISB533
- CPU: Intel Core i5-4570TE
- RAM: 12GB DDR3
- Storage: 120GB Kingston SSD
The Kubernetes Compute & Storage Nodes (The Red Tier)
This is the most complex part of the setup. I run a highly available K3s cluster spread across a mix of x86 HP Minis, Proxmox VMs, and ARM-based Raspberry Pis.
The Control Plane (The K3s Masters)
To keep the Kubernetes control plane highly available and resilient against hardware failures, I run three master nodes spread across both virtual and physical hardware:
- Master 1: A VM running on Proxmox Node 1.
- Master 2: A VM running on Proxmox Node 2 .
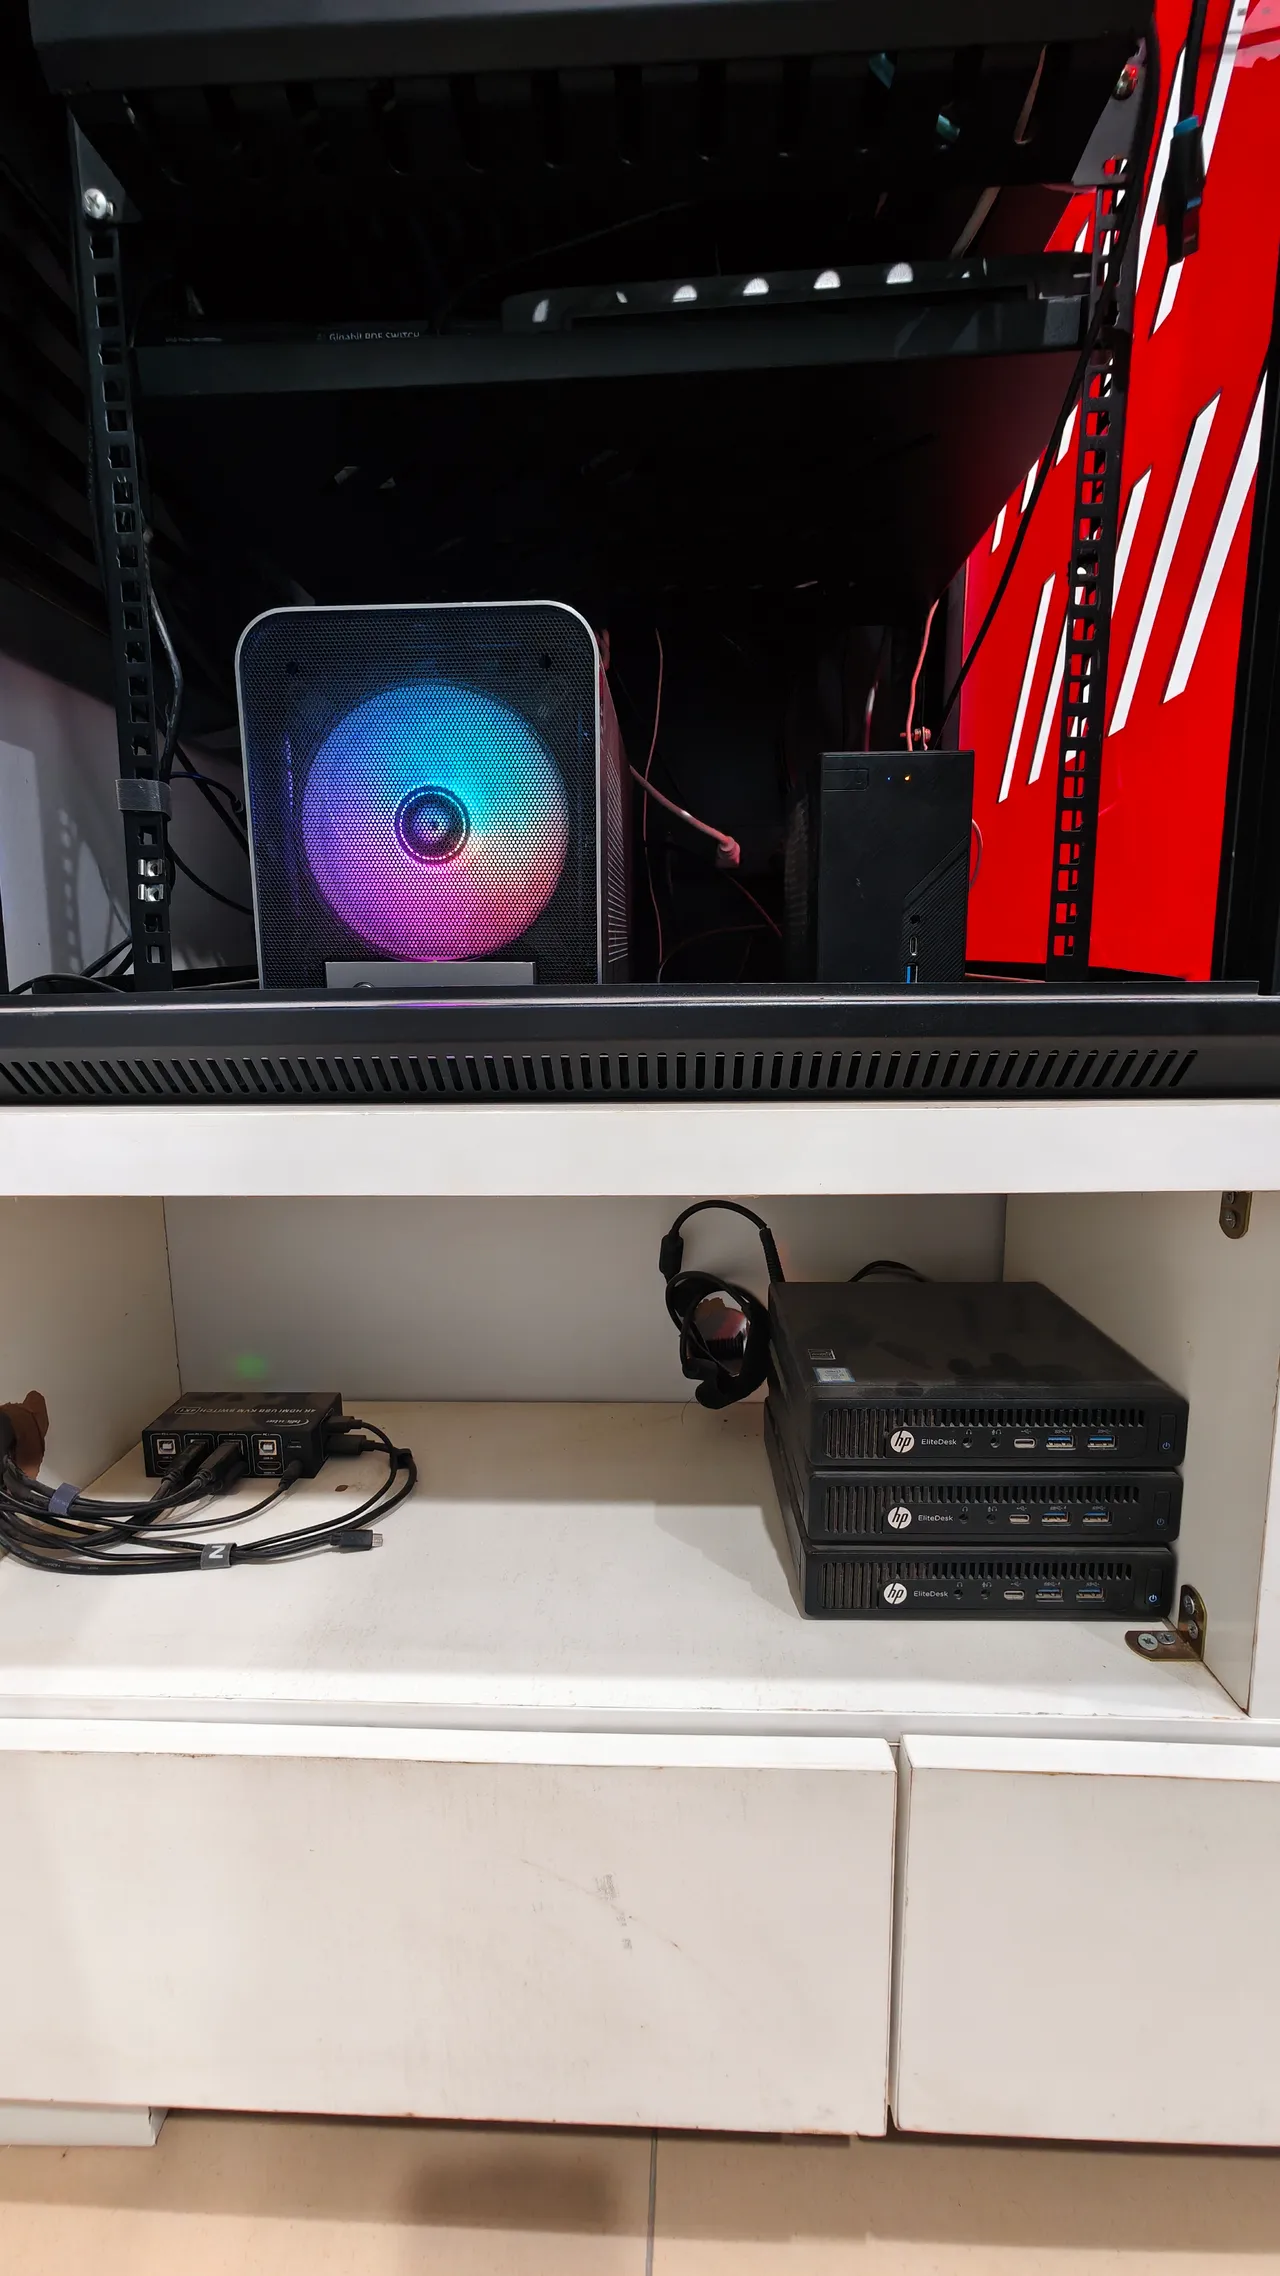
- Master 3 : A dedicated, bare-metal HP EliteDesk 800 G2 DM 35W.
By spreading the masters across different physical hosts and virtualization layers, the cluster can easily survive a catastrophic failure of any single piece of hardware without losing its mind (quorum).
The Longhorn Storage & Worker Nodes
For distributed persistent storage and heavy x86 compute workloads, I sourced three additional identical HP EliteDesk 800 G2 DM 35W units from eBay.
Note that Project Kraken uses four of these HP Minis in total. One runs as a master, and three run as storage/worker nodes.
Here is the spec sheet for the three Longhorn nodes :
- CPU: Intel Core i5-6500T (4 Cores @ 2.50GHz)
- RAM: 8GB DDR4 (2133 MT/s)
- Boot Drive: 120GB Kingston SATA SSD
- Persistent Storage (Longhorn): Each of these three nodes is outfitted with a dedicated 500GB Kingston SNV2S NVMe drive. Longhorn replicates block data across these three NVMe drives, giving my Kubernetes pods highly available, SSD-backed persistent volumes.
The ARM Compute Nodes
To add cheap, low-power compute to the cluster, I integrated Raspberry Pi 4s.
- Hardware: Raspberry Pi 4 (4GB RAM)
- Mounting: UCTRONICS Pi Rack Pro (RM0004) 1U rackmount.
- Storage: Booting entirely from USB-attached SSDs (thus avoiding the unreliability of SD Cards).
The Data Storage Plane (The NAS)
While Longhorn handles the block storage for my Kubernetes pods, bulk data, media, and backups require a massive, dedicated storage pool.
For this, I custom-built a TrueNAS Core server.
- CPU: AMD Ryzen 5 PRO 4650G
- RAM: 64GB
- Boot: 64GB EMMC
- Storage Pool: 5x 8TB Western Digital Red Plus HDDs.
- Network: 10GbE Twinax connection directly to the core switch.
Note: The NAS hardware, ZFS pool layout, and configuration deserve a dedicated post, which I will cover in a future update.
What's Next?
Getting all this hardware racked, cabled, and powered on is only the beginning. The software layer is where things get interesting.
In Part 2, we will look at the network and compute planes. I will break down the pfSense routing, VLANs, DHCP management, and how the Proxmox and K3s clusters actually operate. Later in the series, we will cover the GitOps workflow (you can peek at the repo here: github.com/bigbrovar/kraken-config), secrets management, and automated SSL provisioning.
Until then, welcome to Project Kraken.
Member discussion